How to Generate Third-Party App Password in Gmail Account
Gmail is one of the most practiced mail clients today. Every individual has more than one of these mail client accounts. It is often noted that Gmail does not favor third-party sign-in. One can access the Google Mail Account Information with the help of Commercial utility by generating third-party sign-in security keys.
Note: To create third-party app password in Gmail, You need to Turn-On Two-Step Verification
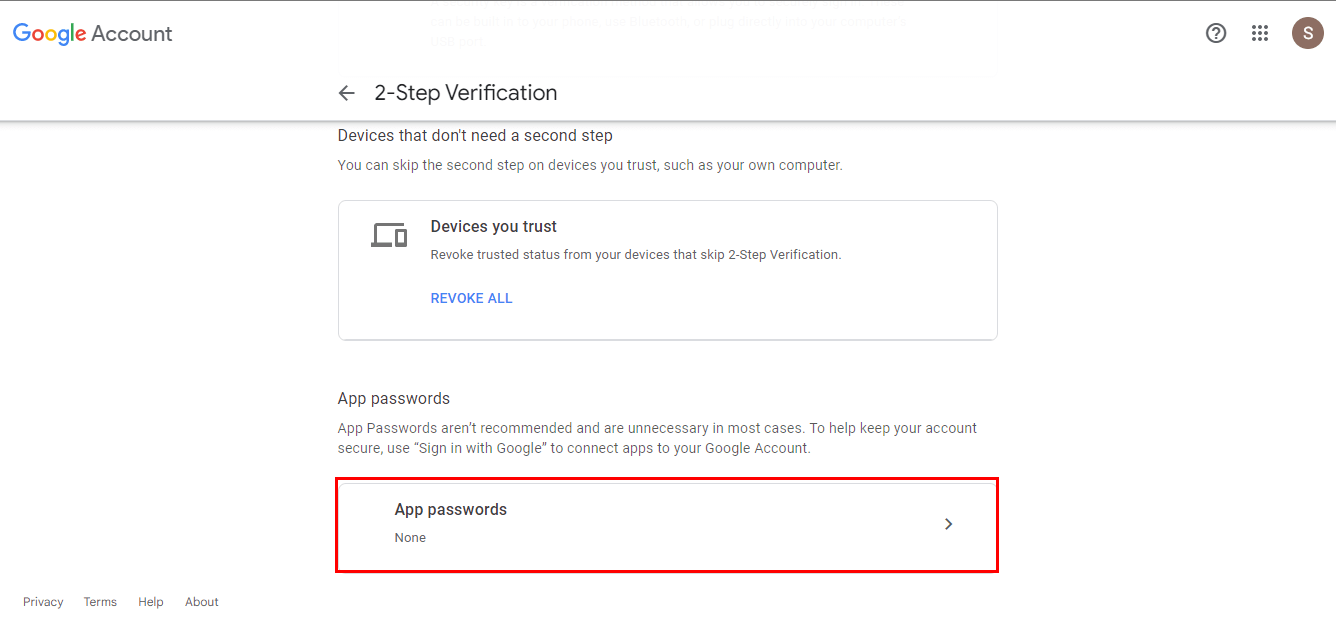
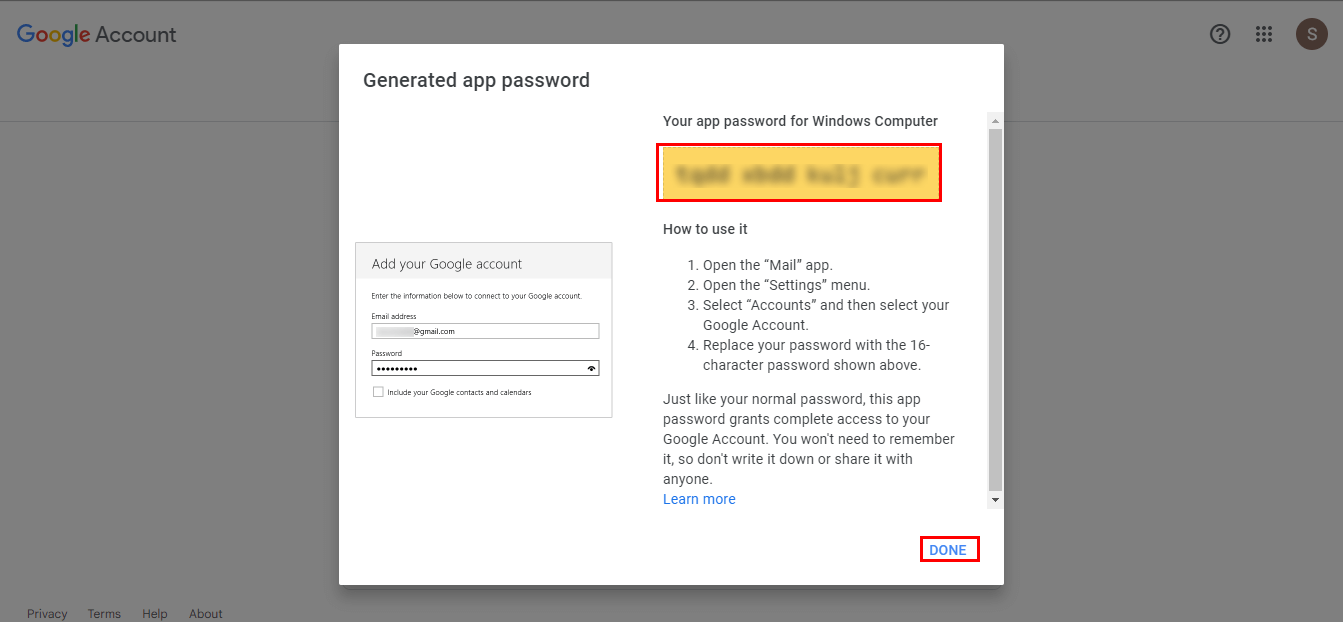
Let's practice the stepwise procedure to generate an App-specific Password For Google mail Log-In and Security Settings.
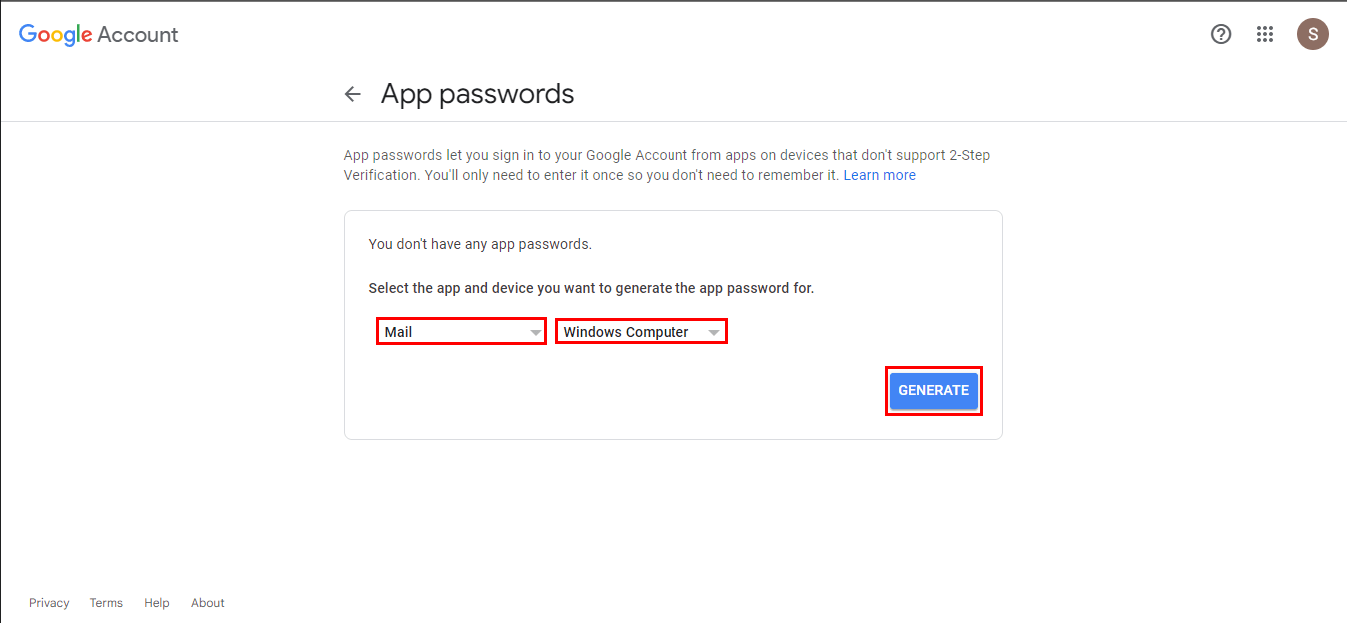
Then select your Application and your Device as shown below and click on the Generate button.
How to Enable IMAP in Gmail
Enable IMAP is another way to access Google mail from other email clients. Webmail clients do not allow an outside utility to enter its interface. For a secure login, one must follow the below-mentioned procedure to begin without any interruption.
After opening the Gmail page, click on the Setting/Gear Icon from the top right side of the page.

Here, find the tab Forwarding and POP/IMAP from the Setting tab boxes. Click on the particular tab too. (Green highlighted =Settings tab, Red highlighted=Forwarding and POP/IMAP tab)

How to Turn On 2 Step Verification in Gmail
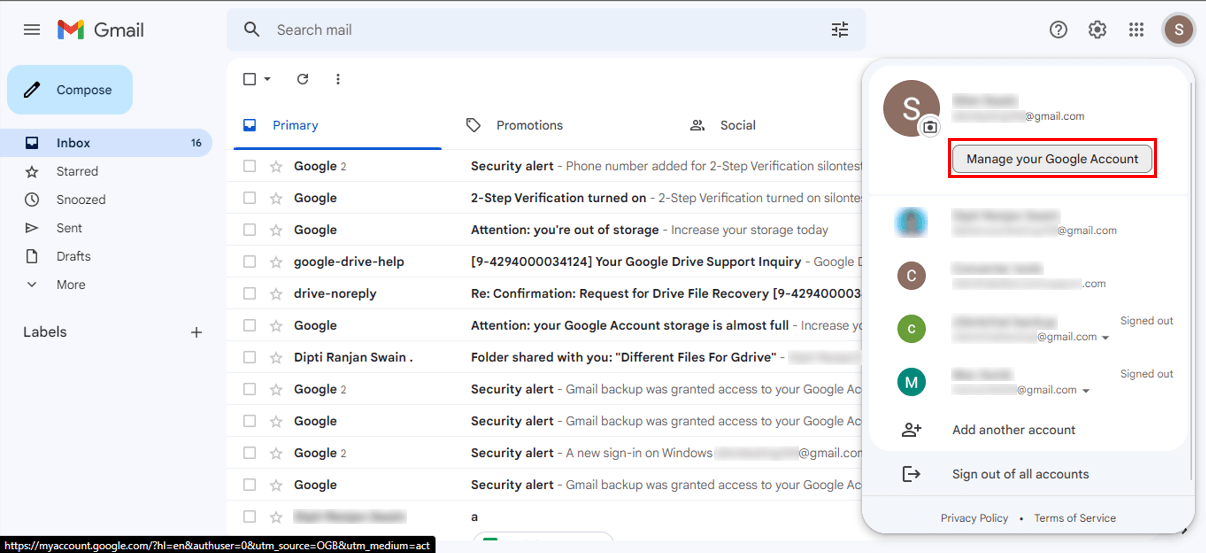
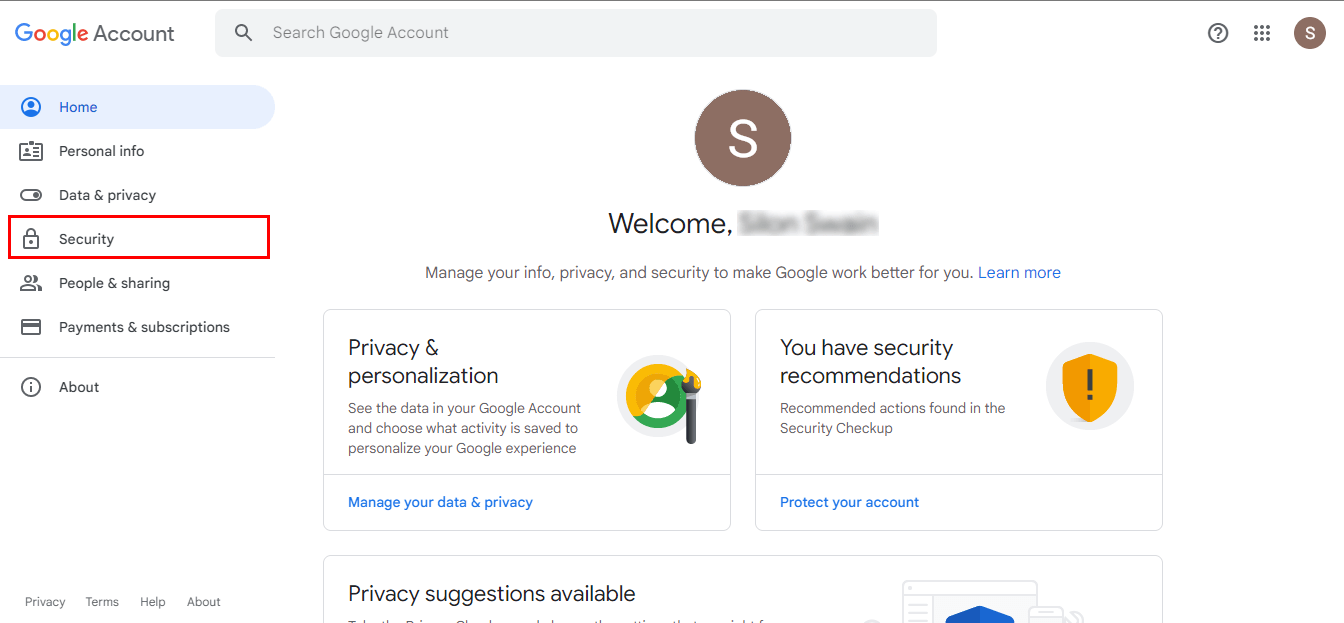
Log In to your Gmail account. Then, click on the Manage your Google Account option under your image icon.

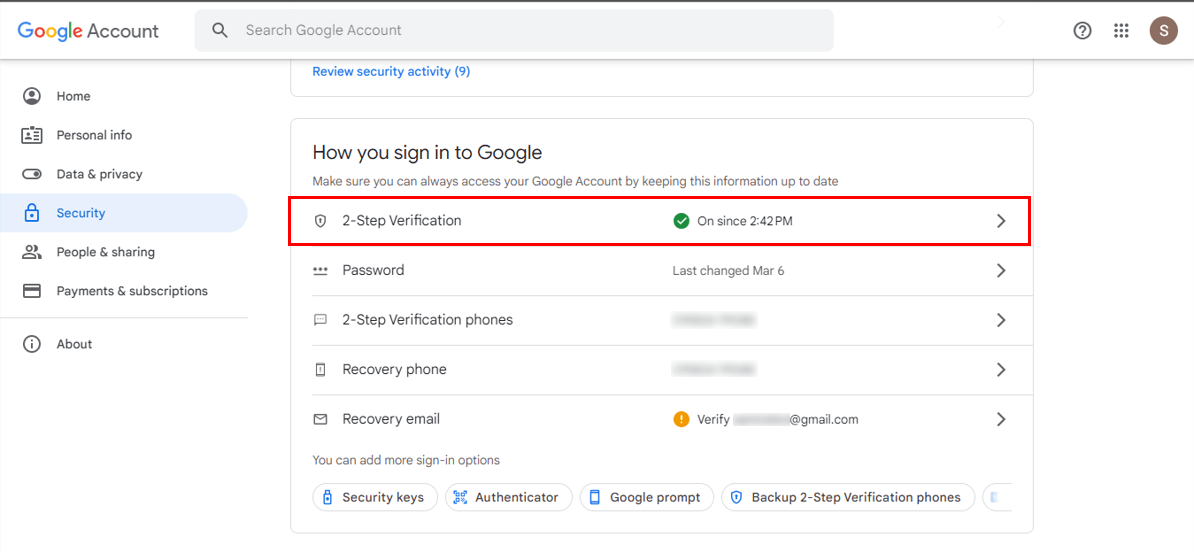
You will have to login into your account again to gain access. Then, verify your mobile number using a text message or a call and hit the Turn on icon.

